

Part of the guide: The Complete Guide to Inspection Reports: Structure, Evidence, Sign-off and Examples
Ask a contractor why they disputed an item and the answer is rarely "it was not a defect". It is "we could not tell where it was", "the photo could be any wall", or "that was not like that when we left". All three are photography failures, and all three are fixable in the thirty seconds after the defect is found. This is the method: eight habits that make a defect photograph into evidence, arranged in the order you use them on site.
What a defect photograph has to prove
Four things, and a photograph that proves only one of them is a memory aid, not a record.
- What: the defect is visible and recognisable to someone who has never seen it.
- Where: the photograph contains enough of the surroundings that a stranger could walk to it: a door, a window, a socket, a grid label.
- How big: something in the frame gives a size: a tape, a coin, a gauge, a hand.
- When: the file carries its capture date, and the report carries the inspection date.
The inspection report guide covers what goes around the photograph; everything below is about the photograph itself.
The two-shot rule: locate, then show
One photograph cannot do both "what" and "where", because the framing that shows a 1 mm crack cannot also show the door it is next to. So every item gets two. Shot one is taken from far enough away that the room or elevation is recognisable, stand in the doorway, or across the road. Shot two is close enough that the defect fills a third of the frame or more. Take them in that order, every time, so that the sequence in the camera roll is itself a record of which close-up belongs to which room.
A third shot earns its place when the cause is somewhere else: the shower tray above a stained ceiling, the blocked gutter above a damp patch, the cill with no drip above a render crack. The ceiling stain article is built on that third photograph.
Put scale in the frame


"Crack approximately 300 mm" is a claim; a tape lying along the crack is a measurement anyone can read off the picture. In order of preference: a tape measure or a folding rule laid flat against the defect; a crack-width gauge for cracks; a coin for small things; a hand or a boot for large things, if nothing else is to hand. For lipping and steps, stand the coin on edge against the step so the offset is visible in profile. Put the scale beside the defect, not across it, and photograph square-on so the scale is not foreshortened.
Light: why finishes vanish and how to make them appear

Finishing defects are relief: a lip, a ridge, a hollow, a run. Relief is only visible as shadow, and shadow needs light from the side. A flash on the camera axis fills every shadow and makes a rough wall look perfect , which is why so many finishing complaints come after handover, in the low winter sun through the window.
Turn the flash off. Stand so that the daylight crosses the surface at a low angle. For a wall, that means the window to your left or right, not behind you. In a room with no useful window, hold the phone's torch (or a separate torch) against the surface at a grazing angle and photograph with the other hand. On glossy surfaces , tiles, gloss paint, glass, worktops, light from the side also stops the reflection of the phone appearing in the middle of the defect. If the report is going to claim that a finish is visibly poor, write in the scope that finishes were viewed in raking light, and photograph them that way.
Angles, framing and the phone itself
- Square-on for anything that will be measured or compared: cracks, joints, gaps, tiling. A photograph taken at an angle foreshortens the defect and makes a gap look bigger or smaller than it is.
- Include a fixed reference in the locating shot: a door, a window, a socket, a radiator, a column with a grid label. Furniture moves; a doorway does not.
- Move, do not zoom. Digital zoom throws away the pixels that show the crack edge. Walk closer. If the phone has a real second lens, that is fine; the pinch gesture is not.
- Hold it level. A tilted horizon makes a sloping floor look level and a level one look sloped. Most phones have a grid or level overlay; turn it on.
- Landscape for rooms and elevations, portrait for tall things: a door, a vertical crack, a downpipe. Do not fight the shape of the defect.
- Tap to focus on the defect, not on whatever is nearest the centre. A sharp door frame and a blurred crack is a photograph of a door frame.
- Wipe the lens. Site dust on a lens is the single most common cause of soft photographs, and it is invisible on the phone screen in daylight.
Sequence, numbering and the moment of capture
The expensive failure is not the bad photograph; it is the good photograph that cannot be placed two days later. Forty defects, a hundred and twenty images, a camera roll with no structure, and an evening of guessing which crack was in which bedroom. The cure is to bind the photograph to its item at the moment of capture.
On paper: a numbered notebook, and a photograph of the page number before each defect's photographs, so the roll reads "12: wide, close, 13, wide, close". In an app built for this, the photograph is taken inside the item, so the location, the number and the images are stored together and the question never arises; the snagging inspectors' page shows that flow. Either way, the rule is the same: never take a photograph you have not already assigned to a location. Walk room by room, finish a room before leaving it, and do not delete anything on site, the "wrong" photograph is sometimes the one that shows the cause.
Markup without destroying the original
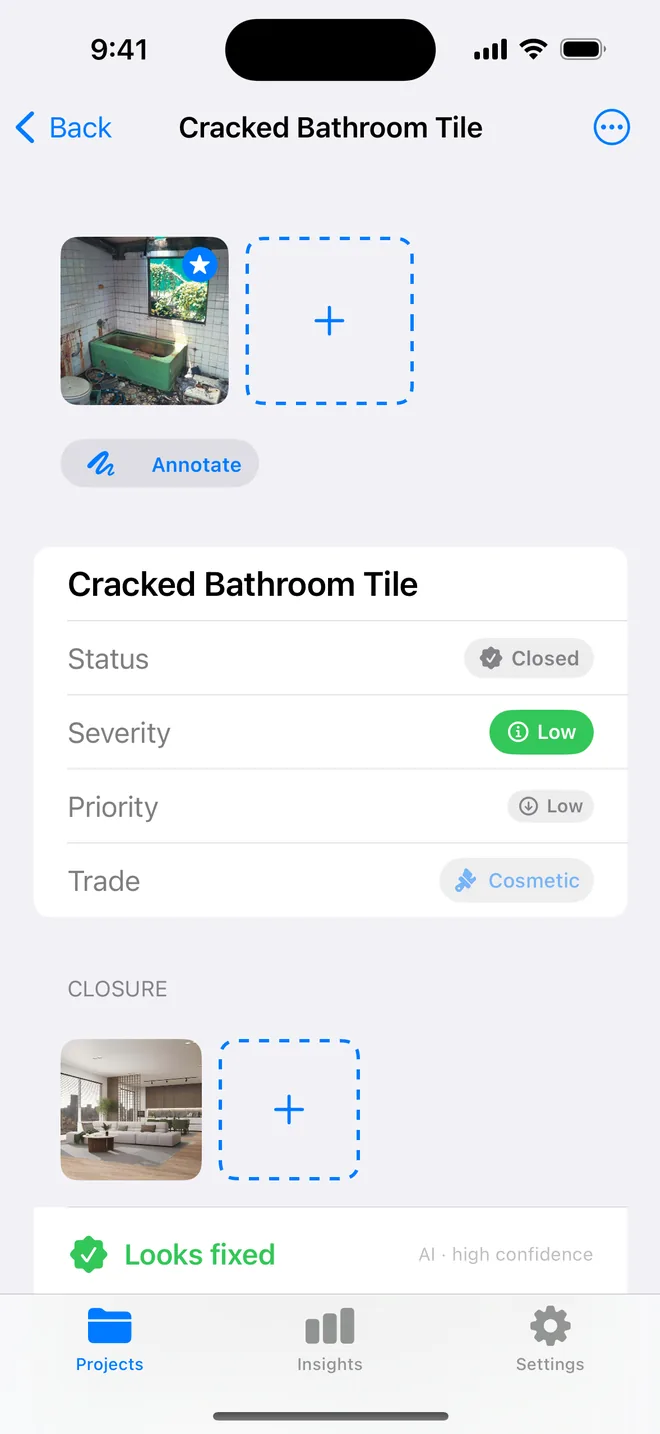
A circle around the defect and an arrow to the cause make a report faster to read and harder to dispute. They also, done wrongly, destroy the evidence: a photograph with a thick red circle drawn over the crack is a photograph of a red circle. Draw on a copy, or in a tool that keeps annotations on a separate layer from the image, and keep the unmarked original. Draw around, not over. Keep text off the image; the caption is for words. And do not annotate the locating shot at all, except to box the area the close-up shows.
What not to do
- Through glass: reflections, tint and focus on the pane. Open the window or go outside.
- After the repair has started: that is a photograph of a repair, and it proves the defect was there only in the loosest sense. Photograph before anyone touches it.
- Only from far away: the room is lovely; the defect is three pixels.
- Only close up: the crack is beautifully sharp and could be in any building on earth.
- Blurred in low light: brace the phone against a door frame, or use the torch; a blurred photograph is not evidence of anything.
- People in frame: faces in a report create a privacy problem and a distraction. Wait a moment.
- Filters, HDR effects, "enhance": anything that changes tone selectively makes a stain look better or worse than it is. Plain capture, plain export.
- Cropping out the context to make the close-up tidier. The context is the point.
Keeping the originals safe
The photographs are the record, and the report is a presentation of it. Keep the originals, unedited, with their metadata, for at least as long as the defects period and preferably for the life of the project; a dispute two years later will ask for them. Back them up the same day, a phone in a puddle should not take the inspection with it. Store them in the structure the report uses (by project and item number) so that "photo 14 refers" can be answered without a search. The app on this site keeps the originals inside the project and syncs them to the inspector's own iCloud for exactly that reason; a folder per project on a drive does the same job with more discipline. The defect report guide covers what the finished document does with them, and the defect field guide has a "record it" line for forty defects that tells you which two photographs each one needs.
Questions people ask
Do defect photographs need a timestamp?
They need a provable date, which a phone gives you in the file's metadata and a report gives you on every page. A visible timestamp burned into the image is not necessary and is easily faked; what matters is that the original file exists, unedited, with its capture date, and that the report was issued on a stated date. Keep the originals.
Should I use the flash?
Almost never. Flash flattens surface defects, reflects off gloss paint, tiles and glass, and turns a stain into a white blob. Use the room's light, move so a window is to the side, and use the phone's torch held at a low angle to the surface if you need more. Flash is for the inside of a dark void, and even there a torch from the side is better.
How many photographs per defect?
Two as a minimum: one that locates it, one that shows it. Three when the cause is visible elsewhere, the shower above a stained ceiling, the cill above a damp patch. More than four per item is usually a sign that none of them is good. The report needs the best two, not all of them.
Can I edit photographs before they go in a report?
Crop, rotate and brighten so the defect is visible: yes, and say so if it is material. Change what the photograph shows, clone, retouch, filter, or draw over the defect itself: never. Markup goes on a copy or on a separate layer, and the untouched original stays in the record. A report photograph that has been altered is worse than no photograph.
Is a phone camera good enough for inspection photographs?
Yes, and it has been for years. Any recent phone out-resolves a printed report page many times over. The failures in defect photography are framing, light, scale and organisation, none of which a bigger camera fixes, and a phone is the device you will actually have in your hand at the moment you find the defect.