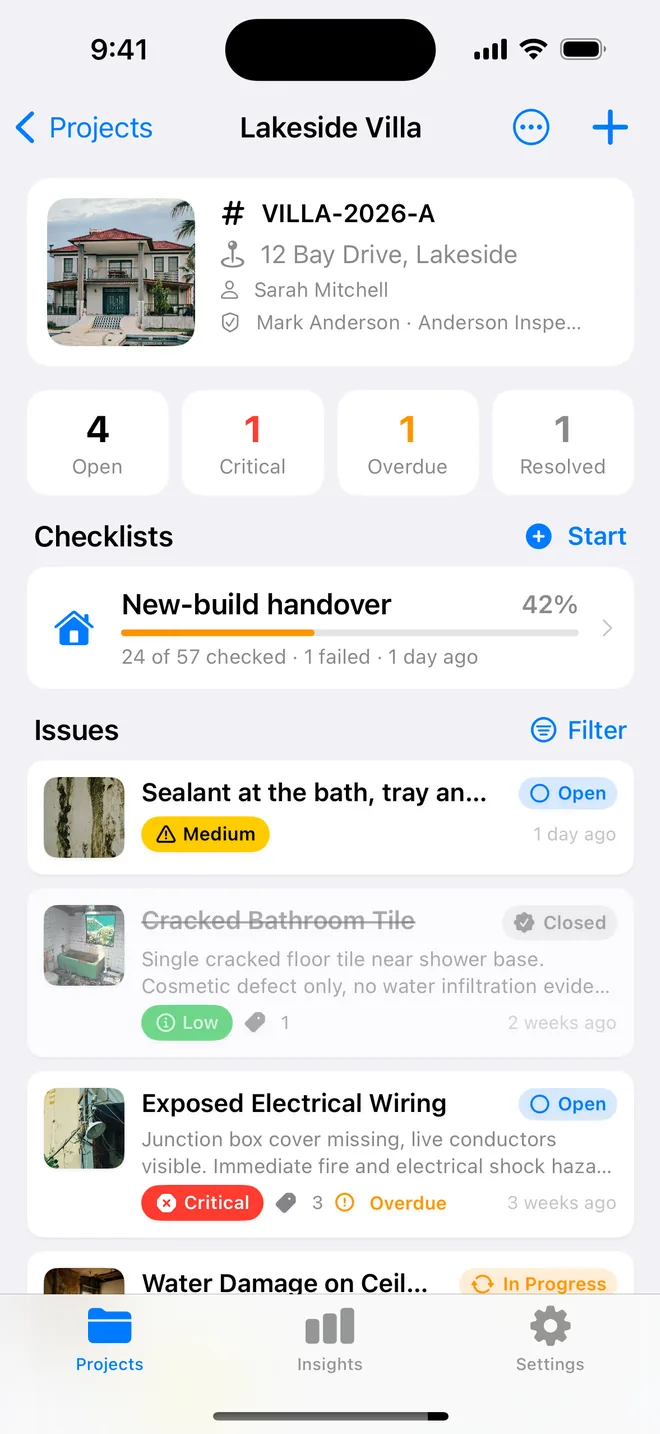
Step by step
- Walk the finished work with a checklist; record every non-conformance with a photo.
- Number the items and assign each to a trade.
- Issue the list; the contractor fixes and reports back.
- Verify each fix with an after photo; close it; issue the closeout report.
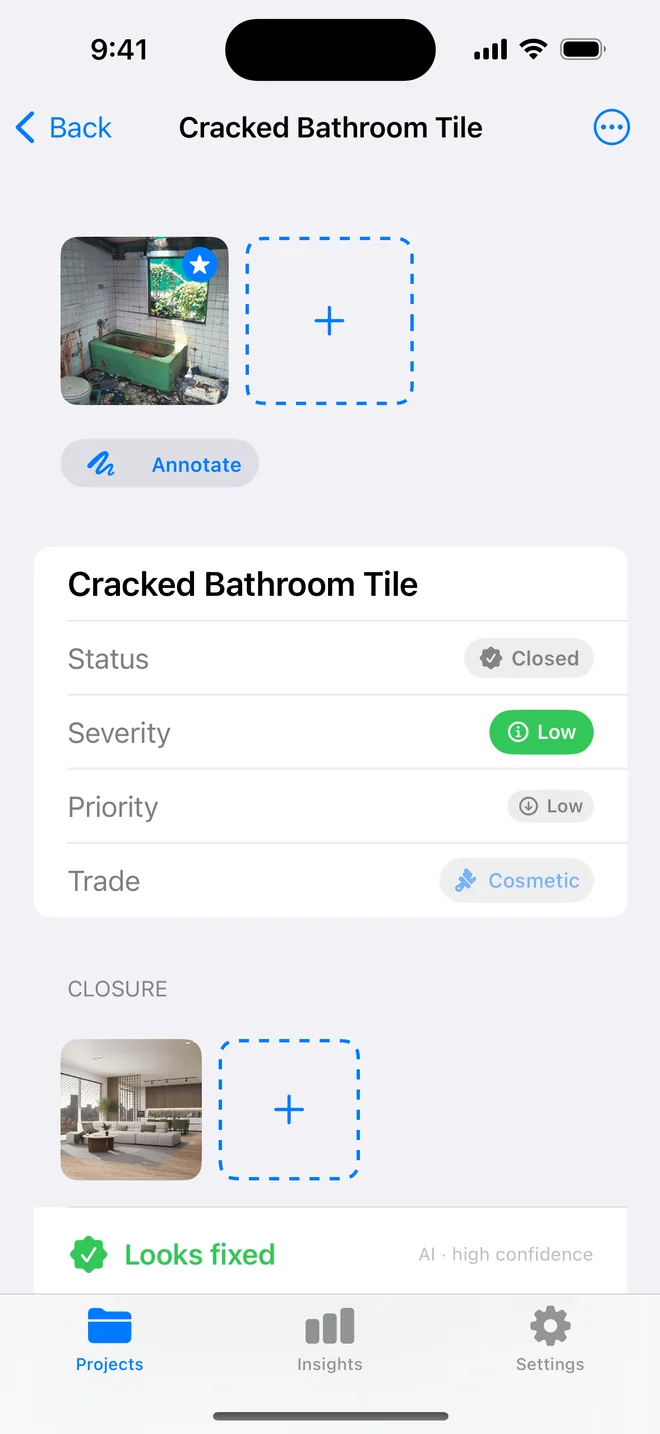
A short example from a real handover
Picture a two-storey house at the end of construction. The architect walks it with the contractor's site manager two weeks before the planned handover. The list that comes out of that walk might start like this:
- 001, Entrance hall: front door does not close to the latch without lifting. Carpenter.
- 002, Kitchen: worktop joint beside the sink not sealed. Kitchen fitter.
- 003, Bathroom 1: silicone to the shower tray discoloured and lifting at one corner. Plumber.
- 004, Bedroom 2: paint runs on the window reveal. Decorator.
Each line has a number, a place, what is wrong and who fixes it, with a photo behind it. Most items are small; that is normal. A typical new house produces somewhere between 50 and 150 of them.
The contractor works through the list, the architect re-inspects, and items are closed one by one. When the list is clear, or the remaining items are agreed as minor, the project reaches completion and the money held back for defects is released. That is why the punch list matters to everyone: it is the last gate before final payment.
Related questions
Why is it called a punch list?
From the days when items were punched through on a card as they were completed.
How long should closeout take?
Weeks, not months. The lists that drag on are the ones without photos, numbers or an owner per item.
Try it on your next walk
Free to download; the first project is free for good. No account.
Download on theApp Store